Betty Sarti de Range
Künstlerin
Home
Vita
Ausstellungen
Atelier
Galerien
Kontakt
Galerie 9
Zurück
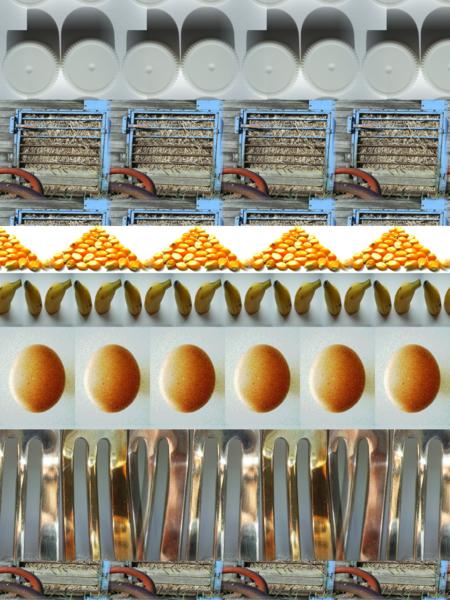
Ernährungspyramide